


Why Is My Table Saw Not Cutting Straight?
A table saw that does not cut straight can quickly become frustrating, especially when accurate cuts are essential for woodworking projects, furniture making or precise joints. A cut that wanders, an uneven edge or a workpiece with an inconsistent width can have several possible causes.
In most cases, the problem is not directly related to the machine's motor power. It is often caused by incorrect rip fence adjustment, blade misalignment, unsuitable saw blade teeth or improper feeding techniques.
Here are the main checks to carry out to restore straight, accurate and consistent cuts on your table saw.
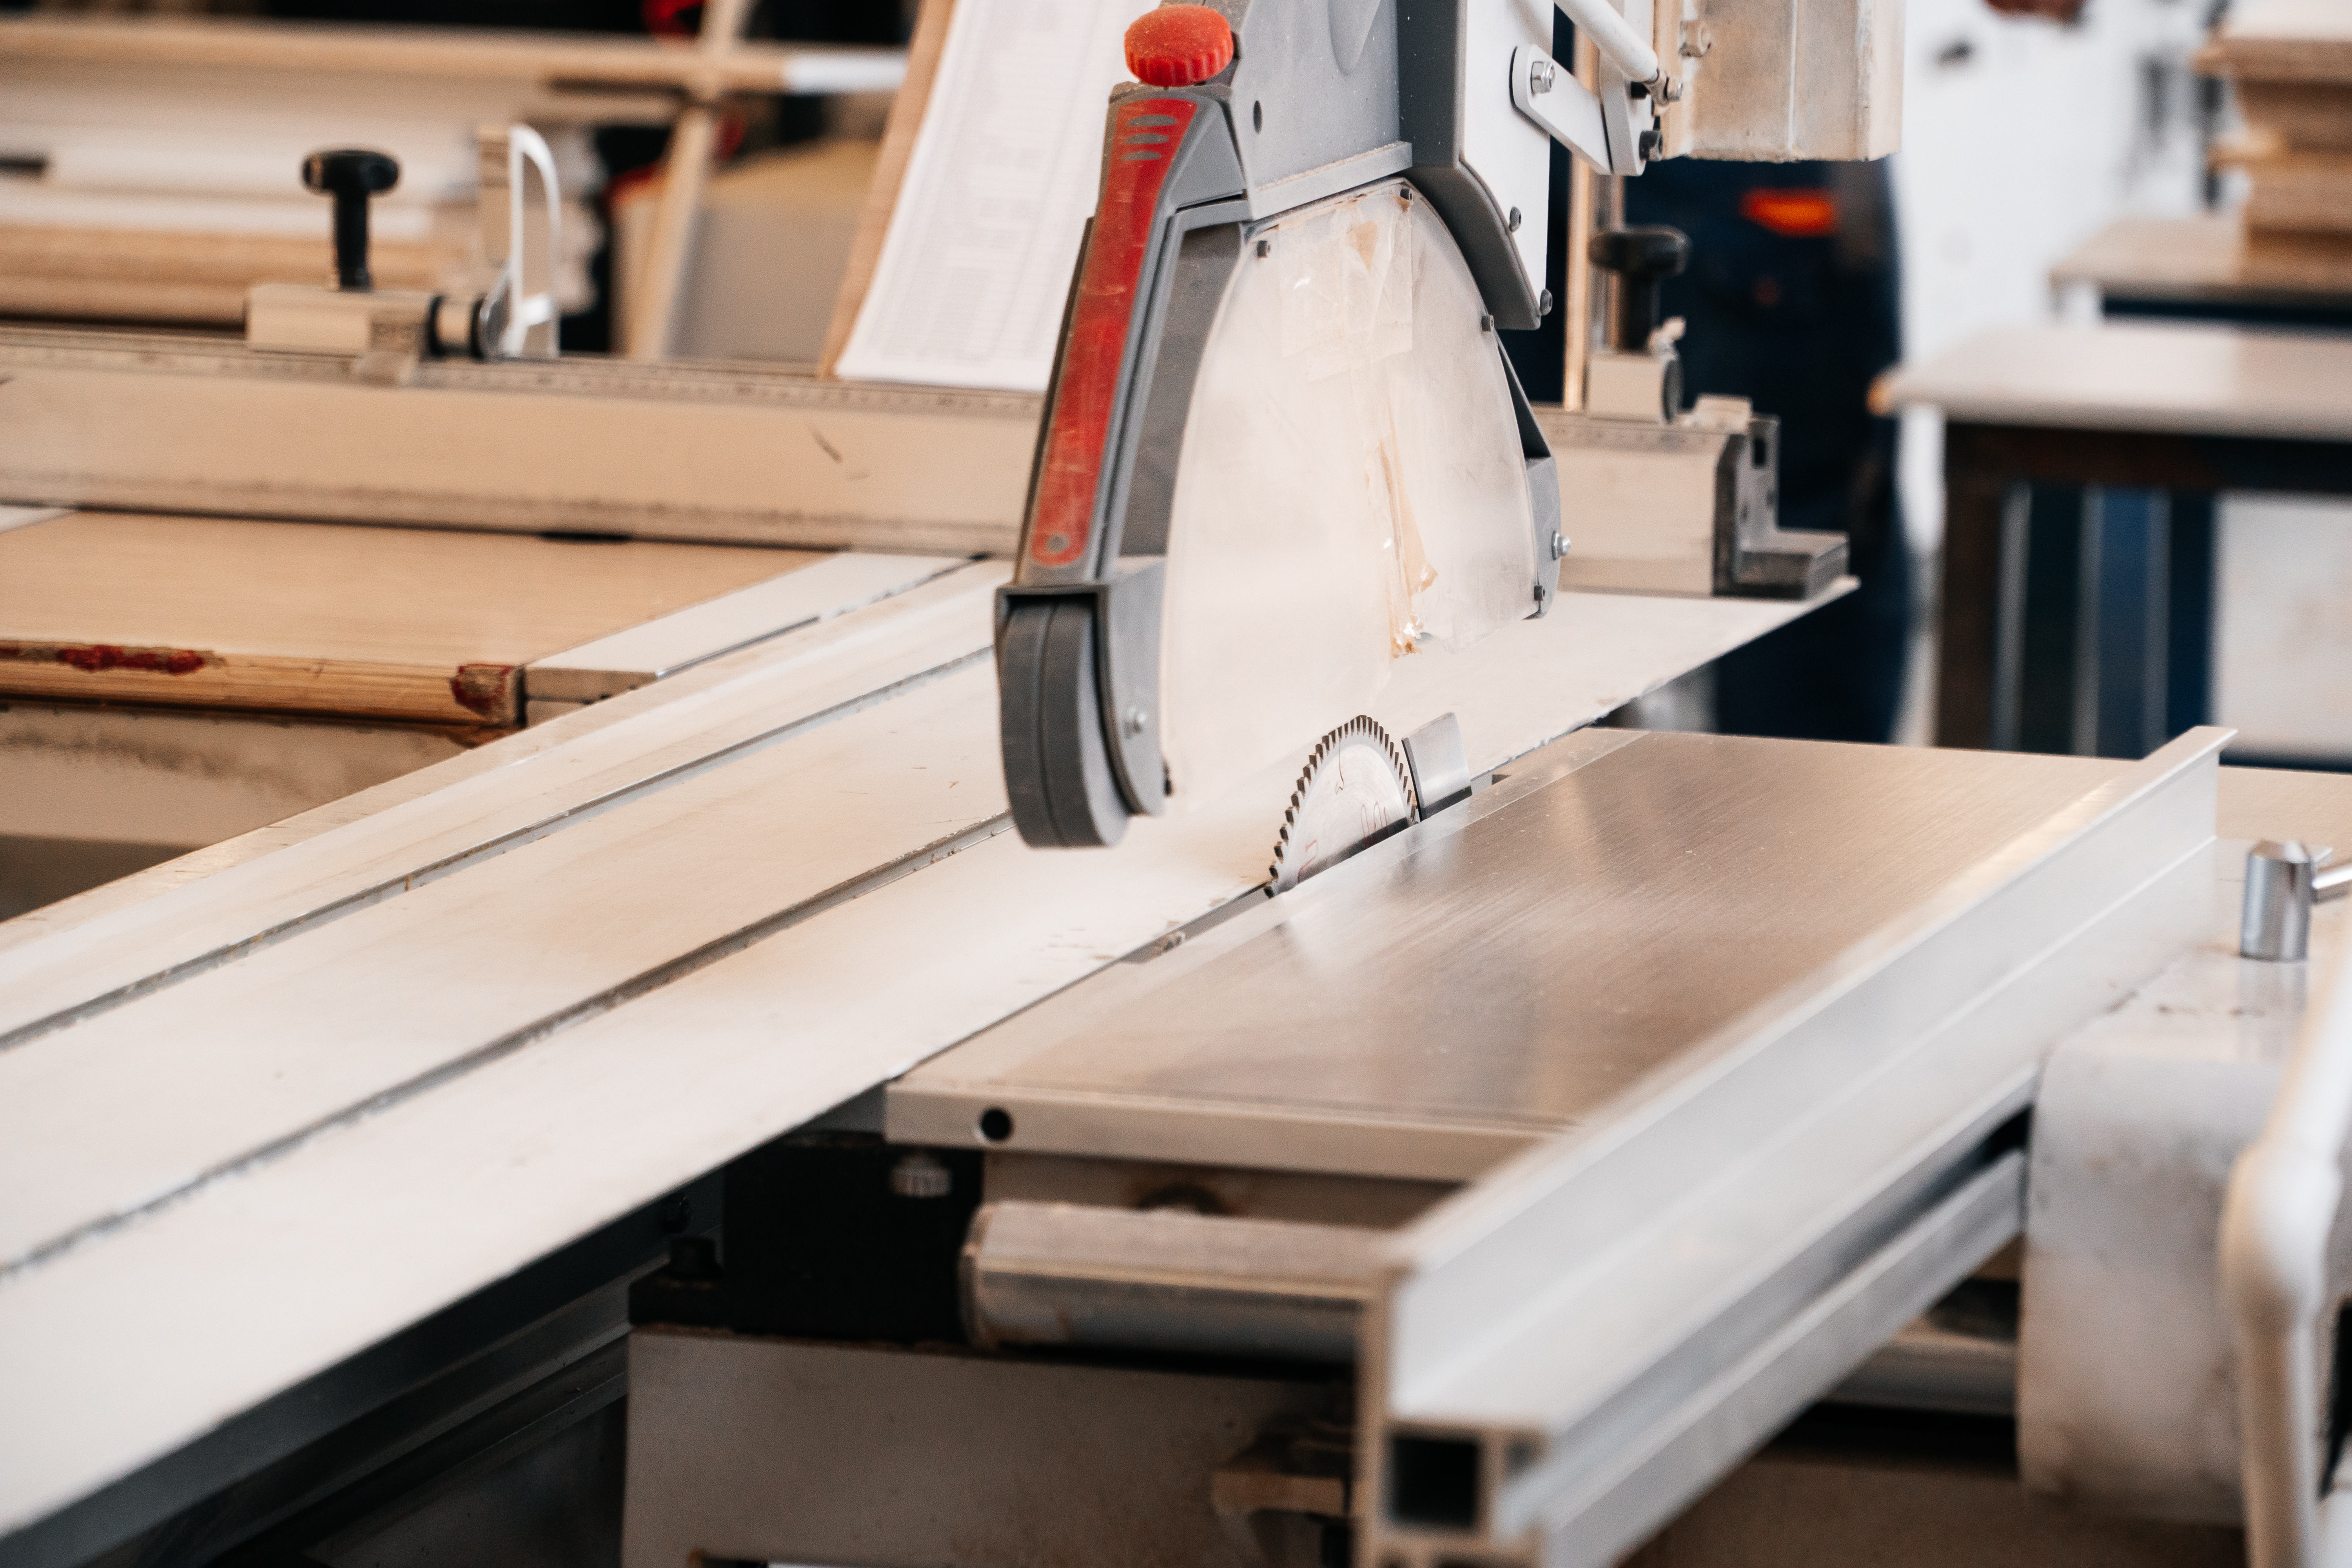
1. Is the Rip Fence Correctly Adjusted?
The rip fence is one of the most important components for achieving straight cuts when ripping timber. It provides a reference surface that guides the workpiece throughout the cutting operation.
If the fence is incorrectly positioned or has excessive play, the workpiece may gradually move away from the intended cutting line.
How to Check the Rip Fence
- Disconnect the machine from the power supply before carrying out any checks.
- Make sure the rip fence is securely locked in position.
- Check its alignment with the saw blade according to the manufacturer's instructions.
- Measure the distance between the fence and the blade at the front and rear, using consistent reference points.
- Check that the fence does not move when light sideways pressure is applied.
Warning: a rip fence that converges towards the rear of the blade can pinch the timber and increase the risk of kickback. Always follow the manufacturer's adjustment recommendations.
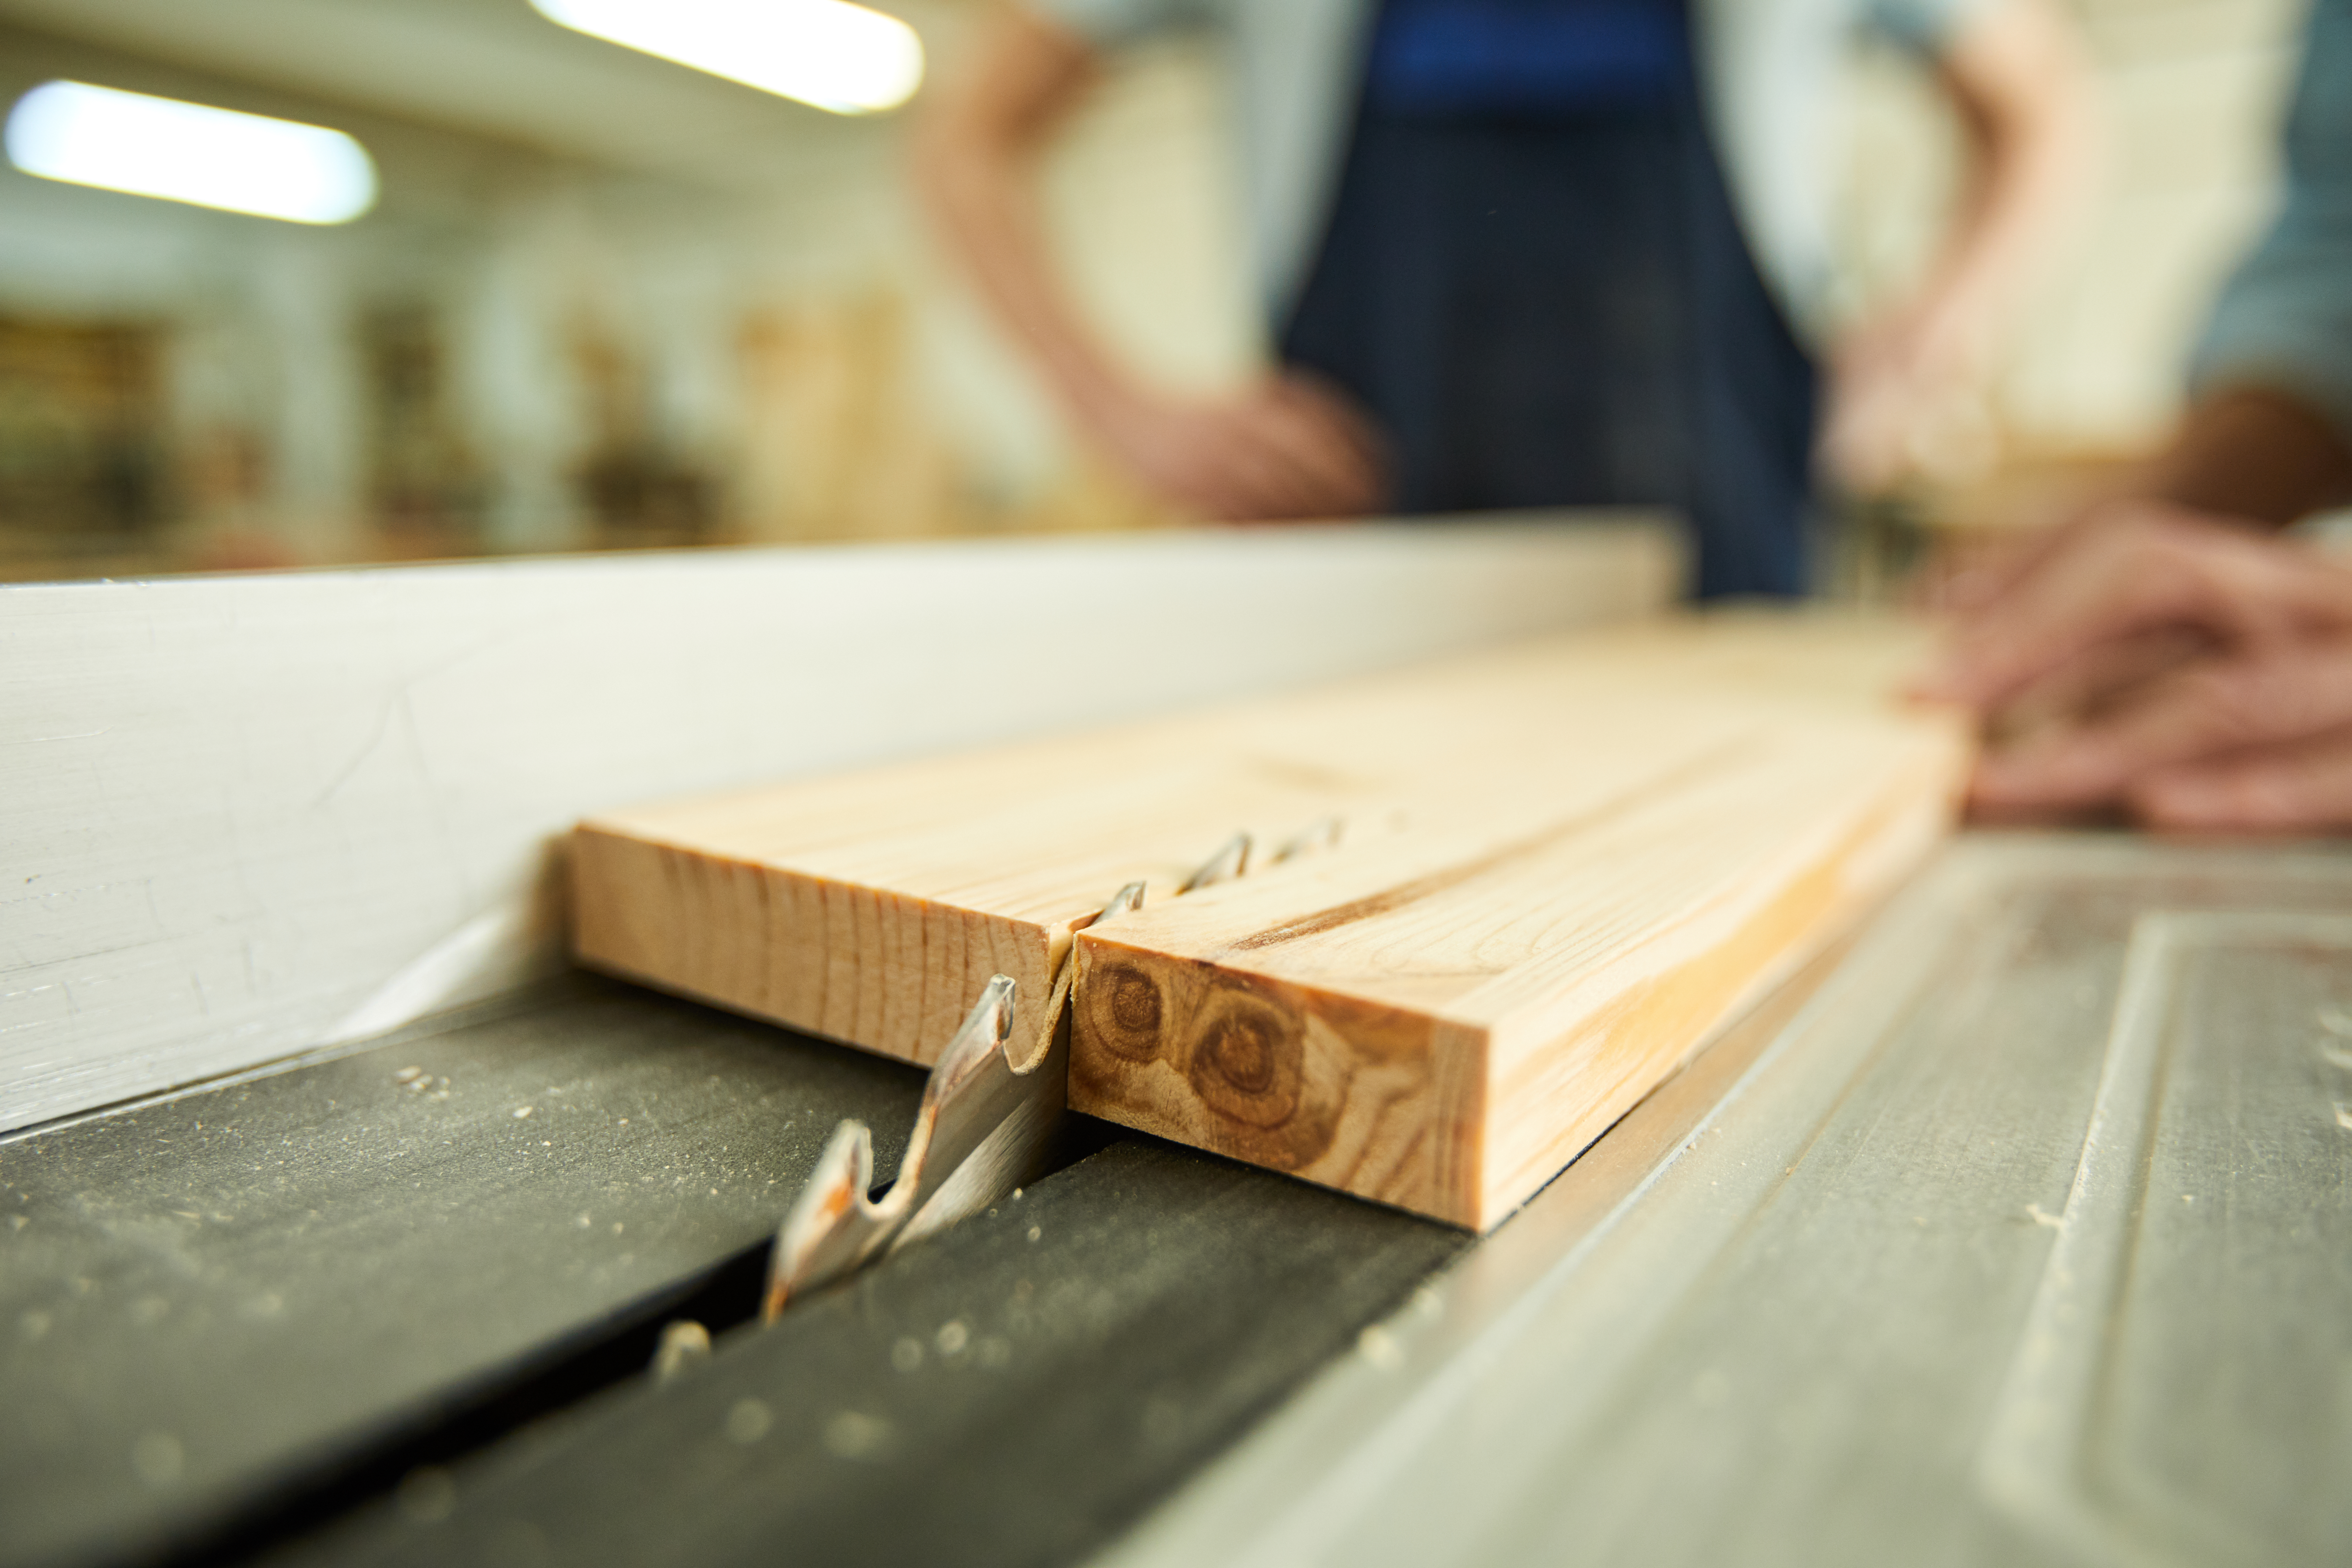
The rip fence helps maintain a consistent cutting width when the timber is guided correctly.
2. Is the Saw Blade Properly Aligned?
A misaligned saw blade can cause excessive friction, burn marks, uneven cuts or unusual resistance when feeding timber through the machine.
Blade alignment should always be checked carefully with the machine disconnected from the power supply.
How to Check Saw Blade Alignment
- Disconnect the table saw from the power supply.
- Raise the blade to a suitable height for taking measurements safely.
- Select a single tooth or a reference point on the blade body.
- Measure the distance between this reference point and a mitre slot at the front and rear of the blade, rotating the blade manually to use the same reference point.
- Compare the measurements to identify any alignment differences.
If you notice a significant difference, consult your machine's instruction manual before attempting adjustments. Depending on the model, correcting blade alignment may require adjustments to the saw assembly.
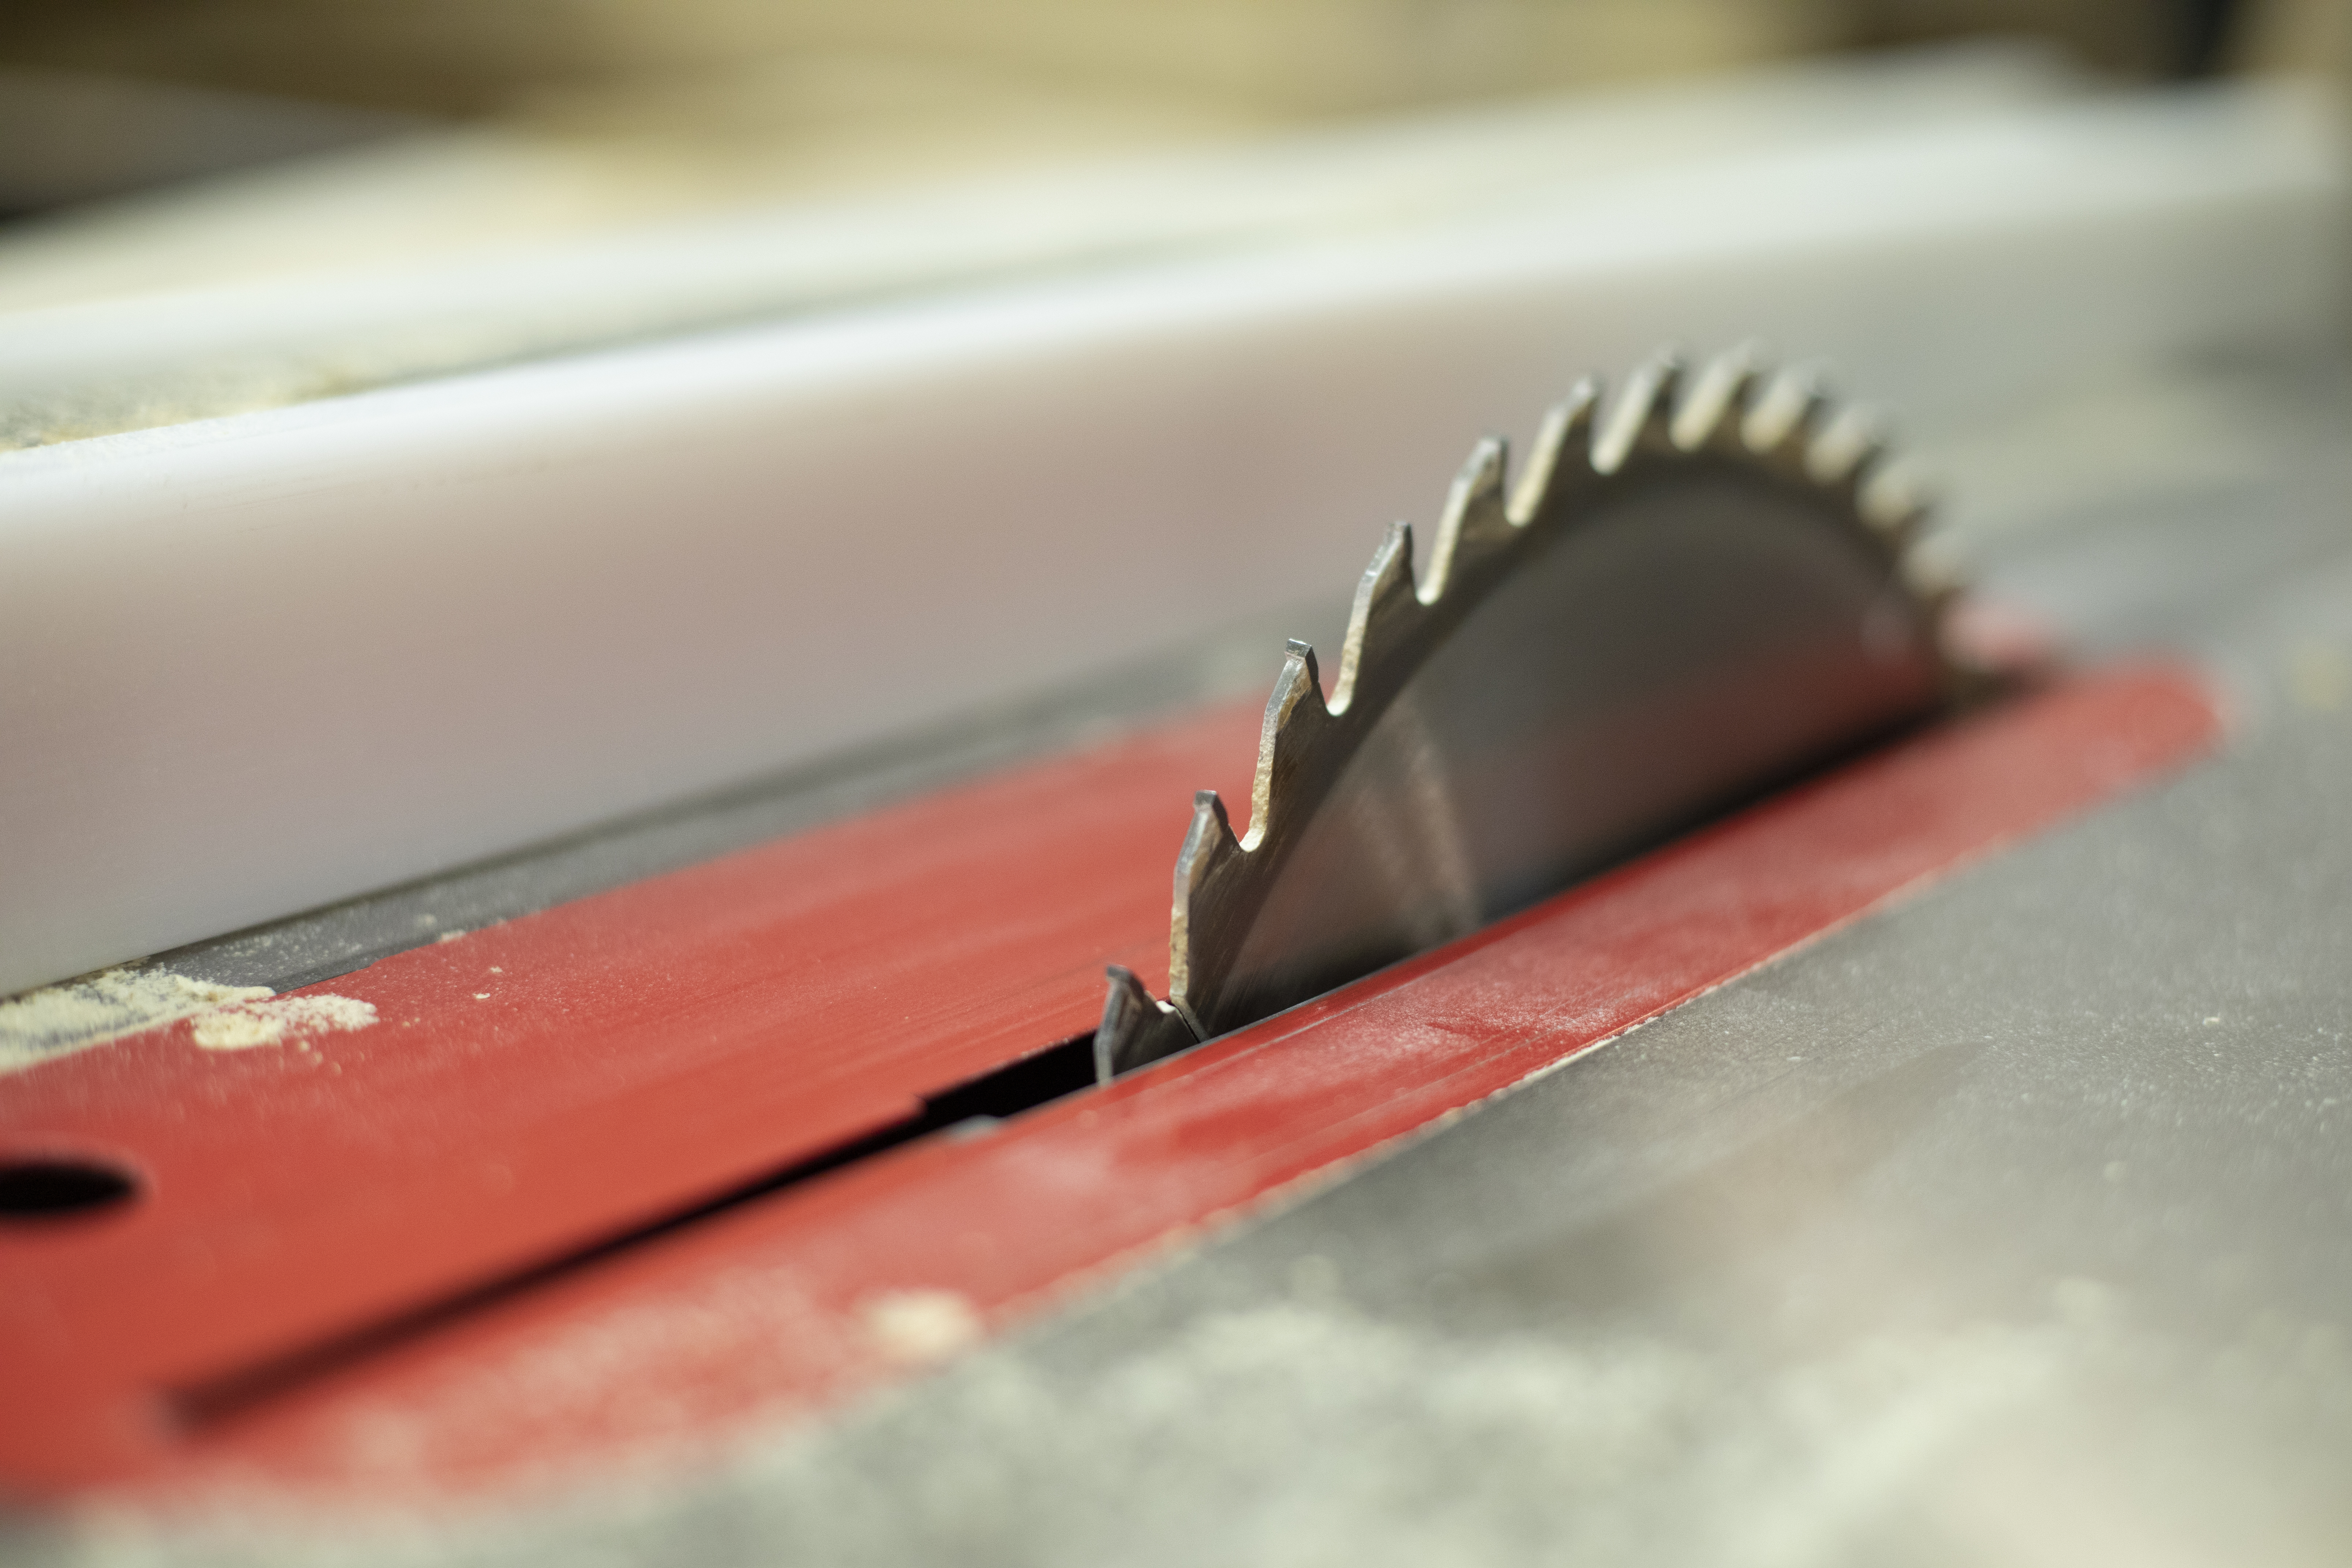
A correctly installed and aligned saw blade contributes to accurate cutting and a better surface finish.
3. Is the Mitre Gauge or Sliding Table Correctly Adjusted?
When crosscuts are not perfectly square, the problem may come from the mitre gauge, crosscut fence or sliding table.
A setting marked at 90° does not always guarantee perfect squareness. Even a small angular error can become clearly visible when cutting wider workpieces.
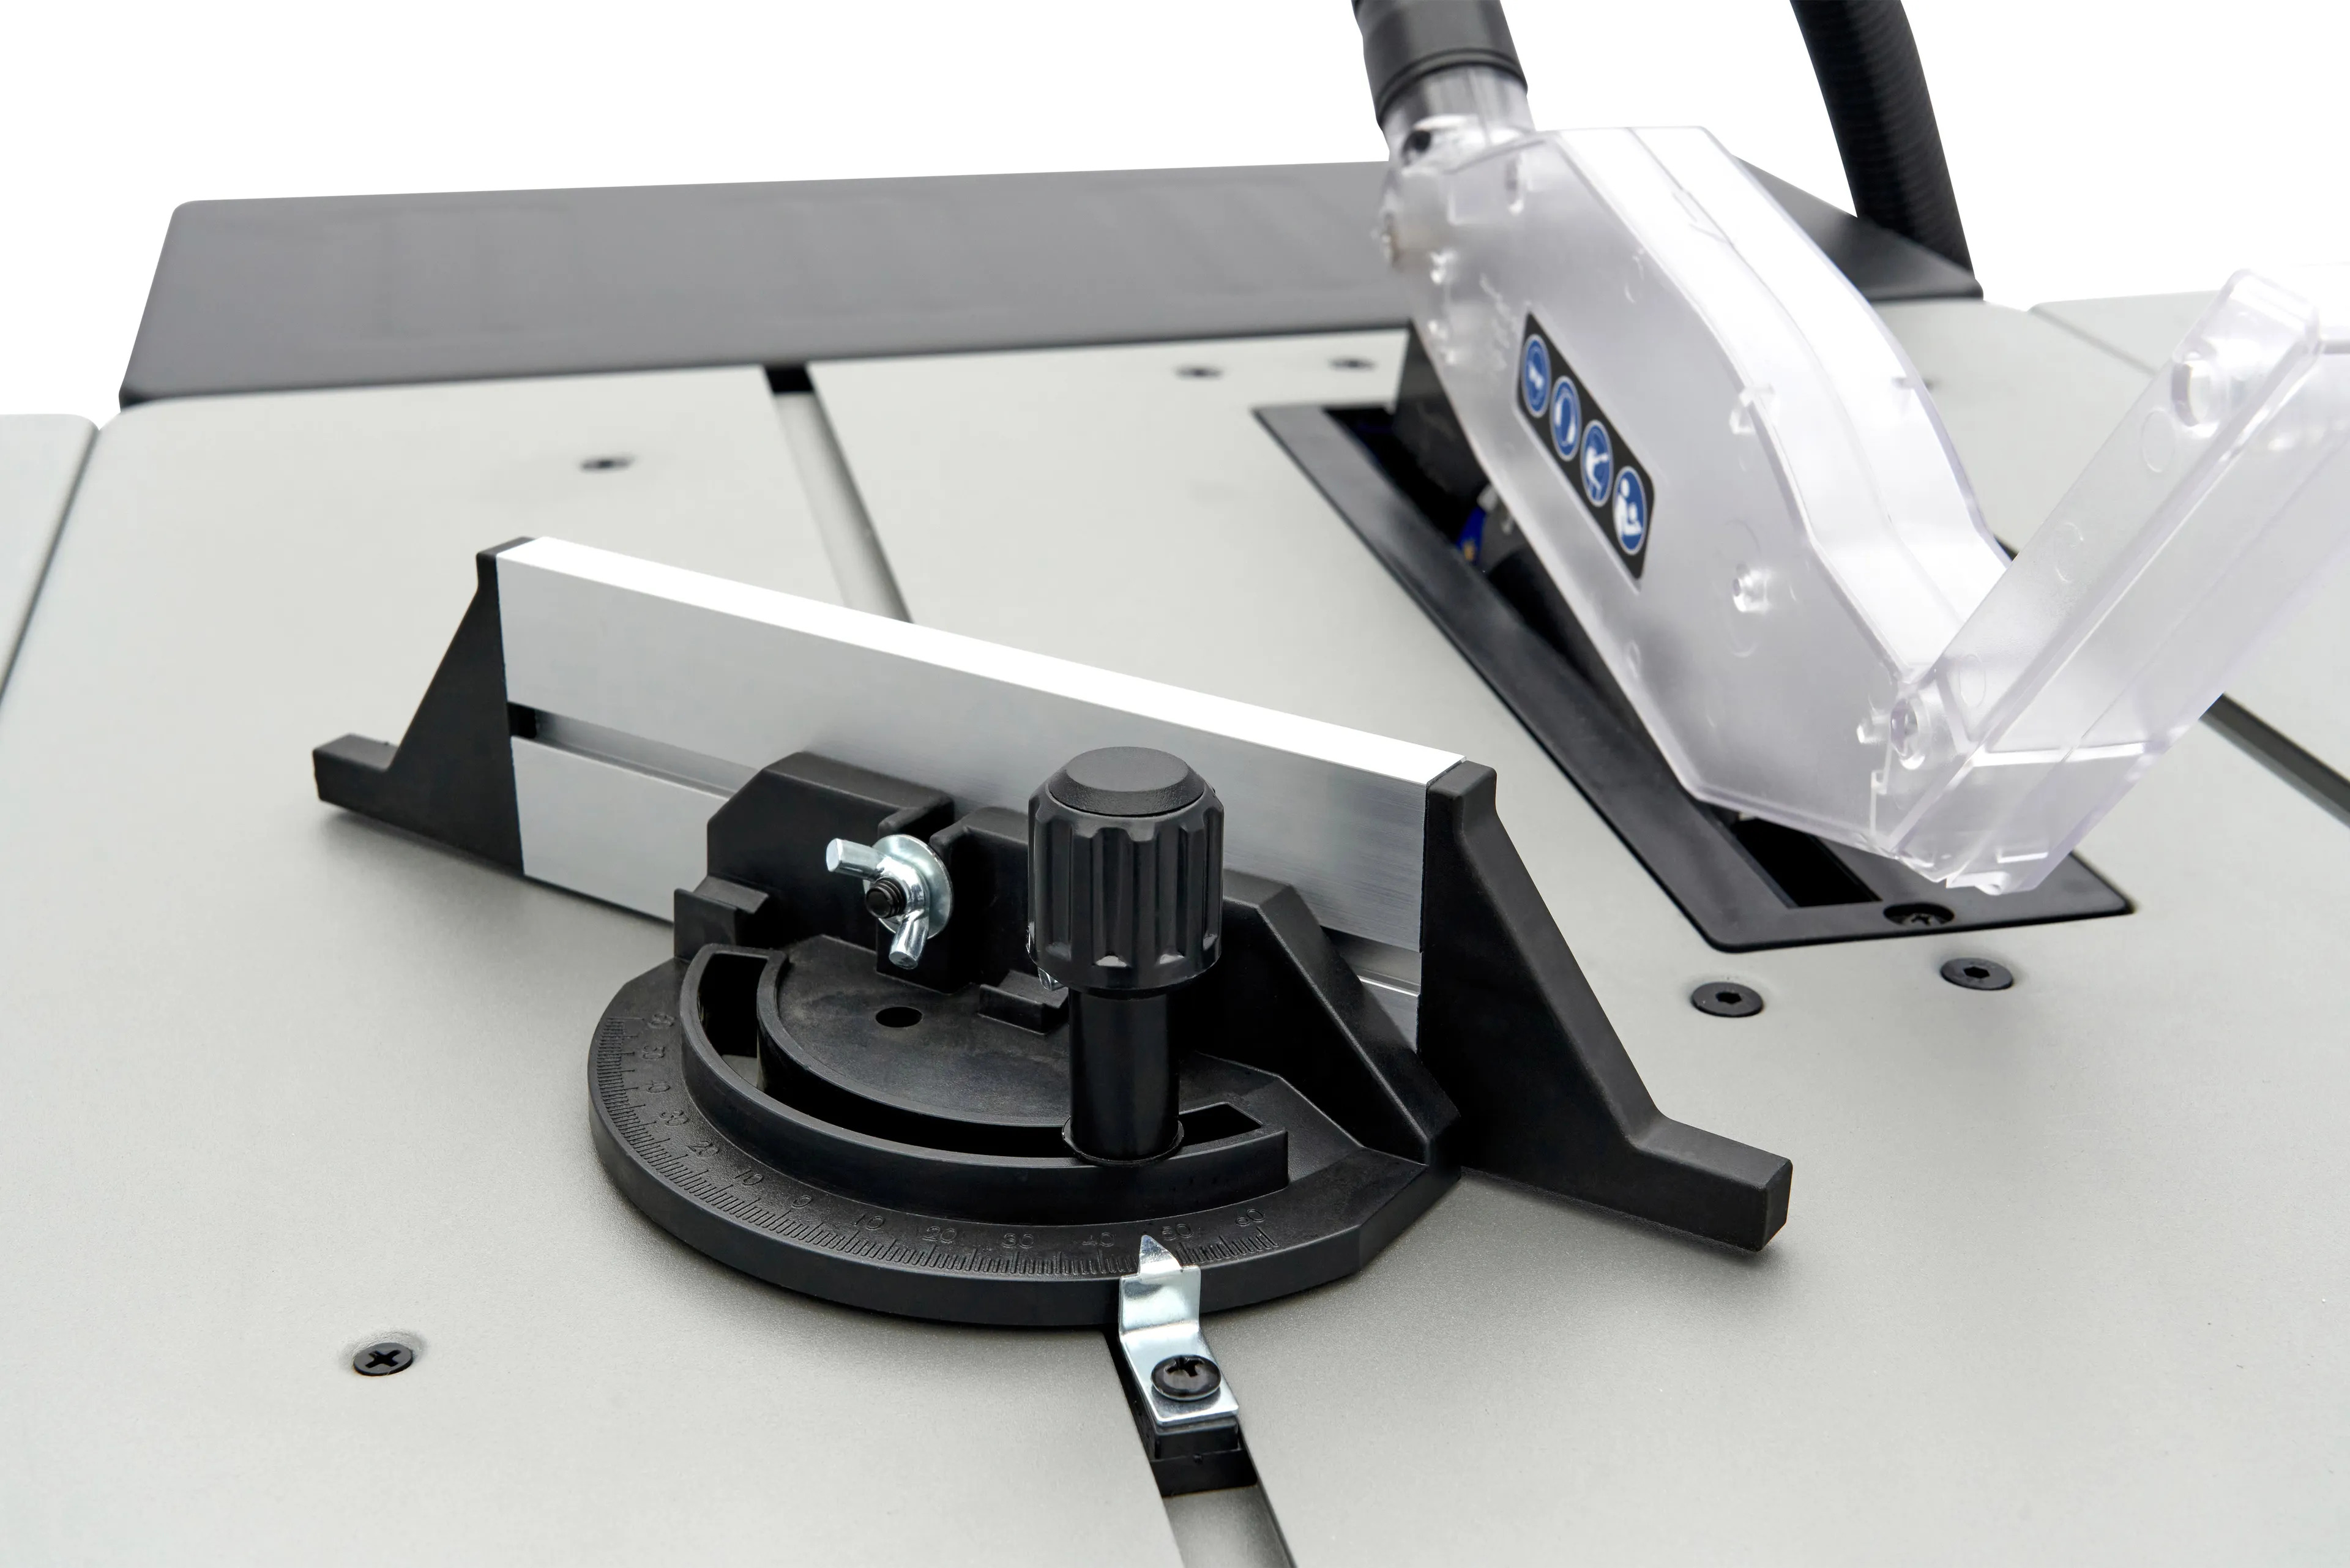
The mitre gauge allows the angle of crosscuts to be adjusted. Its squareness should be checked to achieve accurate 90-degree cuts.
How to Check the Mitre Gauge for Squareness
- Disconnect the machine before carrying out any checks or adjustments.
- Set the mitre gauge to its 90° position and make sure it is securely locked.
- Place a precision engineer's square against the crosscut fence and the body of the saw blade, avoiding contact with the teeth.
- Check for any gaps between the square and the reference surfaces.
- If necessary, adjust the fence according to the manufacturer's instructions.
- Make a test cut on a piece of timber with straight reference edges, then check the result with a square.
On a sliding table saw, also check that the sliding carriage moves smoothly and that the crosscut fence remains securely locked during cutting.
Good to know: if the cut is straight but the end of the workpiece is not square, check the mitre gauge or crosscut fence before adjusting the rip fence.
4. Are You Using the Right Saw Blade for the Material?
Not all circular saw blades are designed for the same cutting operations. Blade diameter, tooth count, tooth geometry and sharpness all influence cutting performance and finish quality.
An Unsuitable Saw Blade Can Cause:
- Difficulty feeding timber through the blade.
- Burn marks along the cut edges.
- Chipping or splintering at the end of the cut.
- Excessive vibration.
- Irregular or inaccurate cuts.
For ripping solid timber, a blade designed to cut along the grain is generally recommended. These blades often have a relatively low tooth count to help remove material efficiently.
For crosscutting and cutting wood-based panels, a blade with more teeth may provide a cleaner finish, provided it is suitable for the material being cut.
A blunt, dirty or damaged blade should be cleaned, sharpened or replaced depending on its condition.
5. Is the Timber Being Guided Correctly During Cutting?
Even a perfectly adjusted table saw cannot guarantee a straight cut if the workpiece is not properly supported and guided.
When ripping a board, it is essential to have a sufficiently straight reference edge running against the rip fence.
If the reference edge is curved or uneven, the workpiece may rotate or follow an incorrect path during cutting.
Important Precautions
- Use timber with a straight and stable reference edge.
- Keep the workpiece correctly positioned against the fence without forcing it sideways towards the blade.
- Maintain a steady feed rate appropriate for the material.
- Use a push stick or suitable push block whenever the cutting width requires it.
- Provide adequate outfeed support for long workpieces.
- Never attempt to straighten severely warped timber by forcing it against the saw blade.
For long boards or large panels, a roller stand or correctly positioned outfeed table can make handling easier and prevent the weight of the material from affecting its movement through the blade.
6. Is the Riving Knife Correctly Positioned?
The riving knife is an essential safety component on a table saw. Positioned behind the blade, it helps prevent the two sides of the timber from closing onto the blade after cutting.
A bent, incorrectly aligned or unsuitable riving knife can interfere with the movement of the workpiece.
What Should You Check?
- The riving knife is installed and securely fastened.
- It is correctly aligned with the plane of the saw blade.
- Its thickness is compatible with the blade body thickness and the width of the kerf.
- The distance between the riving knife and blade complies with the manufacturer's specifications.
- It is not bent or damaged in a way that could obstruct the timber.
The riving knife helps prevent the timber from pinching the blade and reduces the risk of kickback.
Important: never remove the riving knife to correct a cutting problem. If the timber rubs against it, investigate the cause of the misalignment and refer to the manufacturer's instructions.
7. Is the Saw Table Clean and in Good Condition?
A build-up of sawdust, resin or dirt on the table surface can prevent timber from sliding smoothly. An uneven surface or incorrectly positioned throat plate can also interfere with the movement of the workpiece.
Before starting a cut, check:
- The cleanliness of the saw table.
- That no debris is obstructing the movement of the timber.
- That the table insert is correctly positioned.
- The condition of the guiding surfaces.
- That moving components do not have excessive play.
Only use maintenance products compatible with the materials used in your machine and follow the manufacturer's recommendations.
8. Troubleshooting Table: Why Is Your Table Saw Cutting Crooked?
| Problem | Possible Cause | Recommended Check |
|---|---|---|
| The cutting width varies | Incorrectly adjusted rip fence or uneven reference edge | Check the fence and the straightness of the timber |
| Crosscuts are not square | Incorrectly adjusted mitre gauge or crosscut fence | Check squareness using a precision square |
| The timber rubs or overheats during cutting | Blunt blade, misalignment or incorrect feeding technique | Check blade condition and alignment |
| Burn marks appear on the timber | Dirty blade, unsuitable feed rate or excessive friction | Inspect the blade and check machine adjustments |
| The timber jams behind the blade | Pinching, misalignment or internal stresses in the timber | Stop the machine and check the fence and riving knife |
| The workpiece vibrates or moves | Insufficient support, incorrect workpiece guidance or defective blade | Check the support, feeding technique and blade condition |
9. Frequently Asked Questions About Table Saw Cutting Problems
Why Does My Table Saw Cut Crooked Even When the Rip Fence Is Correctly Adjusted?
The problem may be caused by an uneven reference edge, a misaligned blade, mechanical play or incorrect feeding technique. Each component should be checked separately to identify the cause.
Why Does My Table Saw Burn the Wood?
Burn marks can be caused by a blunt or dirty blade, feeding the timber too slowly, incorrect blade alignment or excessive friction between the wood and the blade.
Why Are My Table Saw Cuts Not Perfectly Square?
For crosscuts, first check the mitre gauge or crosscut fence adjustment. If the problem concerns the angle between the face of the timber and the cut edge, also check whether the blade is perpendicular to the table surface.
Can a New Saw Blade Cut Crooked?
Yes. Even a new blade can produce inaccurate cuts if it is unsuitable for the material, incorrectly installed or if the machine's guiding components are not properly adjusted.
Should the Rip Fence Be Perfectly Parallel to the Saw Blade?
The rip fence should be adjusted according to the manufacturer's recommendations. In particular, it must not converge towards the rear of the blade, as this could pinch the timber and increase the risk of kickback.
10. Probois Machinoutils Tips for Achieving Accurate Table Saw Cuts
When a table saw is no longer cutting straight, it is better to follow a systematic troubleshooting procedure rather than changing several adjustments at the same time.
Start by checking the blade and rip fence, then inspect the crosscut guiding components, riving knife and overall condition of the saw table.
Always disconnect the machine before carrying out mechanical checks. Afterwards, make a test cut using a suitable piece of scrap timber, ensuring that all safety guards and precautions are in place.
If the problem continues despite these checks, mechanical wear, incorrect assembly or misalignment of the saw unit may require further investigation.
At Probois Machinoutils, we offer a wide selection of table saws and sliding table saws, as well as circular saw blades and spare parts to help you equip and maintain your woodworking machinery.
Remember: accurate, straight cuts depend on several factors working together: a suitable and properly maintained saw blade, correctly adjusted fences, well-prepared timber and safe operating techniques.