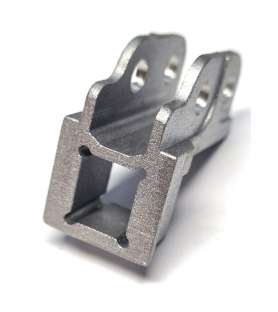
Spare parts for Holzprofi scroll saw
This category contains three spare parts for the Holzprofi SC560 scroll saw, all related to blade clamping: upper clamp, lower clamp item 2 and clamp holder item 9. The product pages also list Bernardo SS560N compatibility. No other unlisted part families are presented as available.
A category dedicated to blade clamping
The SC560 uses 130 mm plain-end blades without pins. Both blade ends must be securely clamped before tensioning. The machine has variable speed from 550 to 1550 strokes/min, a stated 558 mm cutting capacity and maximum cutting thickness of 50 mm.
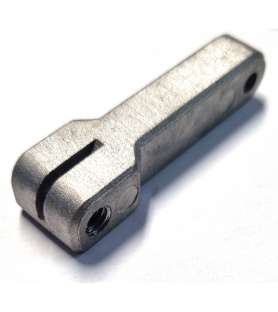
Upper blade clamp for Holzprofi SC560
The upper blade clamp secures the top end of the blade in the upper arm. Replace it if damaged or distorted and no longer able to retain a correctly fitted blade. Also check blade insertion and associated clamping parts.
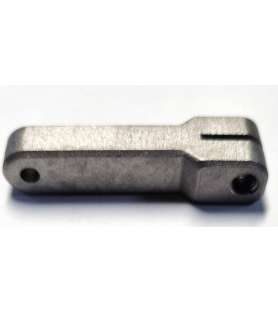
Lower blade clamp – item 2
The lower blade clamp, item 2, secures the opposite blade end. The item number helps identify it in the exploded diagram. Blade movement during tensioning requires inspection of both the clamp and blade installation.
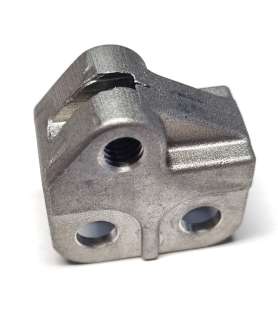
Clamp holder – item 9
The clamp holder, item 9, Probois HJPDSC560-009, receives and positions the blade clamp. Clamp and holder are separate parts. If a sound clamp develops play or sits incorrectly, inspect the holder and its mounting.
Understanding blade fitting on the SC560
Disconnect the saw before blade work. Insert both ends of the 130 mm plain-end blade correctly before applying tension. Crooked or shallow insertion can cause poor retention even with undamaged parts. Check free blade movement before restarting.
When should the clamps and holder be inspected?
Inspect clamps for cracks, distortion, wear or loss of holding ability. Inspect the holder if the clamp has play. Repeated breakage near the fixing point can justify inspection, but tension, blade type and fitting must also be checked.
A slipping blade does not always mean a faulty clamp
A slipping blade may result from a worn clamp, incorrect insertion, insufficient clamping or an unsuitable blade. Frequent breakage may also involve tension, blade choice or feeding technique. Diagnose before replacing parts at random.
Checks before replacing a part
Unplug the saw before replacement, compare the original with the new part and note orientation. Remove sawdust from the clamping area. Never machine a new clamp to make it fit. Check retention manually while the machine remains disconnected.
Identify the correct part with the exploded diagram
The exploded diagram distinguishes these small components: lower clamp item 2 and holder item 9. Compare the upper clamp with the original installation. Rating plate, manufacturing date and serial number help when production changes are possible.
Maintaining the blade clamping system
Keep the clamping area clean and dry. Do not apply products that reduce friction between blade and clamp. Inspect both fixing points during blade changes. Replace badly damaged components rather than compensating with excessive tightening.
IMPORTANT: check compatibility before purchase
IMPORTANT: BEFORE PURCHASING, check the compatible machine list on each product page.
A model name alone may not guarantee compatibility if components changed during production.
If in doubt, send the exact model, month/year of manufacture and serial number.
An evolving SC560 spare-parts range
Probois Machinoutils is progressively expanding its Holzprofi SC560 spare-parts range. For an unlisted component, send the exact model, rating-plate photo, pictures of the original part and exploded-diagram item number when available.